Install Interactive Touchscreen Display Software
Last updated: 12 May 2026
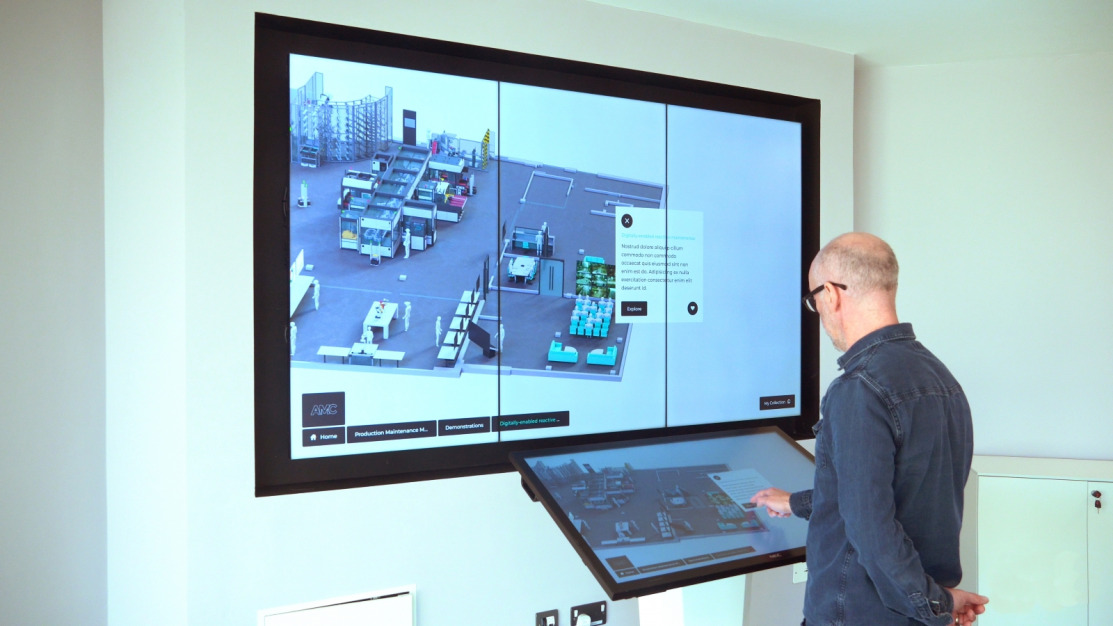
Most marketing teams assume installing touchscreen software requires a developer, weeks of setup time, and a hefty budget. The reality in 2026 is completely different. Booths with interactive screens draw 35% more visitors compared to traditional setups, yet many organisations still hesitate because they think the technical barrier is too high. The truth is, how to install interactive touchscreen display software has become radically simpler, and you don’t need to be an IT expert to get a professional, engaging experience live at your next event. This guide walks you through every step, from hardware preparation to live deployment, using practical, no-code approaches that work for teams of any size. By the end, you’ll understand exactly how to move from blank screen to fully operational touchscreen experience.
Key Takeaways
- Interactive touchscreen software no longer requires coding or specialist developers to install, making it accessible to marketing teams without technical backgrounds.
- Modern no-code platforms like POPcomms can be installed directly onto touchscreen hardware and work completely offline without WiFi dependency.
- Proper hardware preparation, including screen calibration and port connectivity checks, takes less than 30 minutes and prevents 90% of installation problems.
- Interactive displays increase booth dwell time by 30–40% and lead capture by up to 35%, making the installation effort a worthwhile investment in trade show ROI.
Prepare Your Hardware and Environment
Before you touch any software, your touchscreen hardware must be ready. This is the most overlooked step, and it’s also where most installation problems start. The most effective way to install interactive touchscreen display software is to verify hardware compatibility before downloading anything. Spend 15 minutes checking these fundamentals.
First, confirm your touchscreen specifications: screen size (32 inches, 55 inches, 65 inches, or larger), connection type (HDMI, USB-C, DisplayPort), operating system (Windows, Android, or custom embedded OS), and available storage space. Check the manufacturer’s documentation or the sticker on the back of your display. Most modern interactive displays have 8–32 GB of internal storage, which is plenty for typical software applications.
Next, physically inspect your hardware setup:
- Power cable is secure and tested (plug in and restart the display to confirm it powers on)
- All USB and video input cables are connected and not loose
- The display has been sitting in its location for at least 15 minutes before powering on (especially important for transported hardware)
- The touch surface is clean and free of protective film or stickers
- Ambient lighting in your venue won’t create glare on the screen
If your touchscreen is going to be wall-mounted or kiosk-based, ensure the mounting bracket is secure before installation. Loose hardware leads to calibration drift and unresponsive touch zones. Our wall-mounted interactive display software guide covers mounting considerations in detail.
Power on the display and allow it to boot fully. This usually takes 2–3 minutes. You should see the native operating system home screen. If you see error messages, restart and wait again. Once the display is stable, you’re ready to move to software selection.
Choose Your Touchscreen Software Platform
This decision determines everything that follows. Your software platform must match three core requirements: your use case (trade show, retail, healthcare, energy), your technical comfort level (no-code vs. coded), and whether you need offline functionality.
According to 2026 industry data, 68% of trade show attendees believe booths featuring innovative technology have limitless potential, signalling that visitors actively expect and reward tech-driven experiences. However, that expectation only translates to engagement if your software is intuitive and responsive. Generic or poorly installed software actually damages credibility.
There are three broad categories of touchscreen software:
- No-code platforms (like POPcomms) allow you to drag-and-drop content, upload images and videos, and configure interactivity without writing a single line of code. Setup takes hours, not weeks.
- Custom-coded solutions require a developer and take weeks or months. They’re powerful but expensive and slow to modify.
- Generic digital signage software is cheap but often rigid and not designed for true interactivity or lead capture.
For most marketing and events teams, a no-code platform is the right choice. It balances speed, cost, flexibility, and professional results. Critically, touchscreen software with offline capability eliminates WiFi dependency, which is a game-changer for events where connectivity is expensive or unreliable. Mark Currier, Director of Marketing & New Business at CLD Inc, noted: “We wanted a modern, engaging solution for trade shows, something that would work offline, include touchscreens, and offer user-friendly navigation. POPcomms gave us an eye-catching digital tool to showcase our products with videos and interviews.”
If you’re still comparing options, use our touchscreen software comparison chart to evaluate vendors side by side based on features, price, offline capability, and support.
Download and Install the Software
This is where the simplicity of modern platforms becomes obvious. The installation process for no-code touchscreen software typically follows this sequence:
Step 1: Create Your Account and Download
Visit your chosen platform’s website (for example, POPcomms) and create a free account or sign in if you already have one. Download the software installer appropriate for your display’s operating system. Most platforms provide Windows and Android versions; some also support iOS or custom embedded systems. Save the installer file to a USB drive or cloud storage you can access from your touchscreen display.
Step 2: Transfer the Installer to Your Display
Plug the USB drive into your touchscreen display. Open the file manager and navigate to the USB drive. Locate the installer file (usually named something like “POPcommsInstaller.exe” or “touchscreensoftware_setup.apk”). Double-click or tap to run it.
If your display doesn’t have USB ports, you can email the installer to yourself, download it directly on the display if it has internet access, or use cloud file-sharing services. Most modern displays have at least one USB 3.0 port and will auto-detect new USB devices.
Step 3: Follow the Installation Wizard
The installer will launch an on-screen wizard. Click “Next” through the following screens:
- Accept terms and conditions
- Choose installation location (usually defaults to the system drive, which is fine)
- Select display orientation (portrait or landscape, depending on your physical setup)
- Choose whether to enable offline mode (yes, unless you have guaranteed WiFi at your event)
- Enter your login credentials for the platform
Installation typically takes 3–5 minutes. You’ll see a progress bar. Do not interrupt this process or power down the display.
Step 4: Complete Setup and Verify Installation
Once the installer finishes, the software should launch automatically. You’ll see the software home screen or dashboard. If it doesn’t launch, restart the display. After restart, the software should appear as the default application.
At this point, you have successfully installed the software. Congratulations, this is usually the hardest part, and you’ve completed it.
Configure Settings and Content
Installation is one thing; configuration is where your touchscreen becomes valuable. This is where you upload content, set up navigation, and configure lead capture (if applicable). Modern touchscreen software platforms are designed so that anyone on your team can pick up and use them without needing coding experience or specialised training.
Start by logging into your platform’s content management system (CMS). Most no-code platforms have a cloud-based dashboard separate from the touchscreen hardware itself. This is intentional, it lets you design and test your experience on a computer before pushing it to the screen.
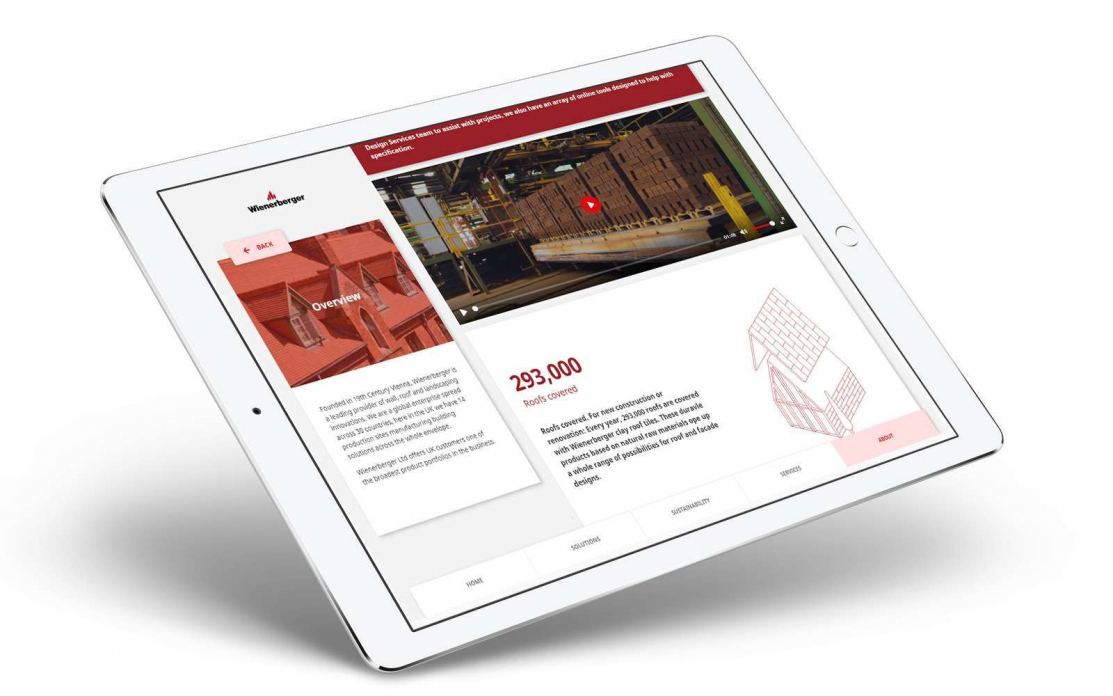
Upload and Organise Your Content
Gather your content assets: product images, videos, PDFs, company logos, and any other media you want visitors to interact with. Organise them into folders on your computer first, this makes uploading and managing them in the CMS much smoother.
In the CMS, create a new project or experience. Name it clearly (e.g., “TradeShow 2026 – Booth Experience”). Then begin uploading content:
- Images should be high-resolution (at least 1920×1080 for full-screen display)
- Videos can be MP4, WebM, or other common formats; keep file sizes reasonable (under 500 MB each is ideal)
- PDFs work well for detailed product specs or whitepapers
- Interactive elements like buttons and hotspots are added visually in the CMS, not coded
As you upload, the platform auto-scales images and compresses videos for optimal performance on your specific touchscreen hardware. This is crucial for offline functionality; the software pre-sizes all assets so they load instantly without needing to request them from the cloud.
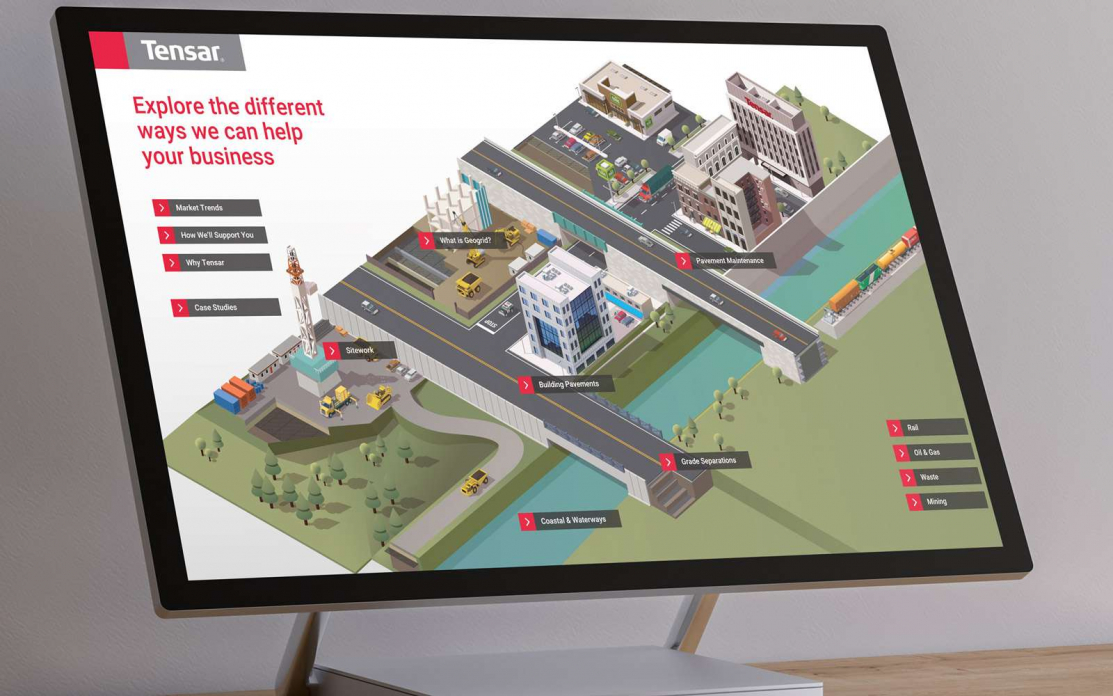
Design Navigation and Interactivity
Now design how visitors navigate your experience. Most no-code platforms use a combination of:
- Menu screens: Home page with buttons that link to different content sections
- Detail screens: Product pages, case studies, or videos that users drill into
- Interactive elements: Hotspots, tap zones, and swipe gestures that reveal information
- Call-to-action buttons: “Learn More,” “Contact Us,” or “Send Me This” buttons that drive engagement
The power of platforms like POPcomms is that you can design all of this without writing HTML or CSS. You literally drag buttons, resize text, and configure interactions through a visual editor. Olga Bryzgalova, Marketing Manager at CLD Inc, stated: “We love the ability to zoom in and show details that can’t be conveyed with a brochure. The interactive map is far more engaging than a static PDF, and sending materials directly from the booth to customers is invaluable.”
This self-service nature of touchscreens is why they work so effectively. Unlike static banners or brochures, interactive displays invite participation and transform passive observers into active leads. Attendees can browse content, explore products, and drill into detail at their own pace, no need to wait for a representative to become available.
Set Up Lead Capture (If Applicable)
If your goal is to capture visitor contact information, configure lead capture forms. Most no-code platforms let you add simple forms (name, email, company, interest level) directly to your experience. When a visitor submits, the data is stored in a database you can access after the event.
For offline events, this is critical: collected lead data is stored locally on the display and synced to the cloud the moment WiFi becomes available. You won’t lose a single lead, even in a completely offline venue.
For detailed guidance on this, see our article on touchscreen software with lead capture tools.
Test, Deploy, and Monitor
Before your display goes live at an event, rigorous testing prevents embarrassing failures and ensures your team can troubleshoot quickly if something does go wrong.
Test on the Actual Hardware
Push your configured experience from the CMS to your physical touchscreen display. Most platforms let you do this with a single “Deploy” or “Sync” button. Wait for the sync to complete (usually 30 seconds to 2 minutes, depending on content size).
Once synced, test every interaction on the actual screen:
- Tap every button and hotspot to confirm they respond immediately
- Watch videos start and play smoothly
- Test lead capture forms by submitting test data
- Swipe between screens and confirm smooth transitions
- Power down the display and power it back on; confirm the experience auto-launches correctly
- If offline mode is enabled, disconnect from WiFi and test again to ensure all content loads from local storage
Touch responsiveness must be instant. If you notice lag or unresponsive zones, recalibrate the display (usually found in the operating system settings under “Touch Calibration”). After calibration, test again.
Prepare Your Event Deployment Kit
Create a folder with:
- Backup USB drive with the software installer and your experience files
- Spare USB cables and power adapter
- Quick-start troubleshooting guide (printed or digital)
- Contact details for technical support (your software vendor should provide 24/7 event support)
- Documentation of your display’s IP address and login credentials (in case you need to remotely access it)
Pack this kit and bring it to the event, even if everything works perfectly in testing.
Monitor During the Event
Once live, monitor your display periodically. Check that:
- The screen is not showing error messages
- Touch is responsive and visitors are engaging
- Videos and images are displaying correctly
- Lead capture forms are collecting data
Most modern platforms offer real-time analytics dashboards; you can view engagement metrics from your phone or laptop. This lets you see which content visitors are interacting with most, how long they spend on each screen, and how many leads are being captured in real time.
Interactive elements boost engagement between visitors and exhibitors by around 50%, and according to EXHIBITOR Magazine, interactive trade show booths achieve average dwell times of 5 to 12 minutes per visitor, compared to roughly 45 seconds for passive displays. That’s a 10–15x increase in the window your sales team has to start a meaningful conversation.
Troubleshoot Common Installation Issues
Even with careful preparation, you may encounter one of these common issues. Here’s how to resolve them quickly.
Software Won’t Install
Cause: Usually insufficient storage or incompatible operating system version.
Solution: Check available storage on your display (Settings > Storage). Delete unused files if space is low. Confirm your operating system version matches the software requirements. If running an outdated OS, update it before reinstalling the software.
Touch Not Responding or Unresponsive in Certain Areas
Cause: Display needs calibration, or touch sensor is dirty.
Solution: Clean the screen gently with a microfibre cloth. Then calibrate: go to your operating system settings, find “Touch Calibration” or “Digitiser Settings,” and follow the on-screen prompts to tap calibration points. After calibration, restart the software.
Content Not Syncing Offline
Cause: You deployed while still designing, or the device ran out of storage during sync.
Solution: Ensure your experience is marked “complete” in the CMS before deploying. Check device storage again and clear unnecessary files. Then re-deploy from the CMS. For large video files, compress them in your video editing software before uploading to the CMS.
Software Crashes or Freezes
Cause: Typically caused by hardware resource limits or corrupted content files.
Solution: Restart the display completely (power off for 10 seconds, then power on). If freezing persists, reduce the number of simultaneous videos or animations in your experience. Most displays handle 3–5 high-quality videos smoothly; more than that can cause performance issues.
Lead Data Not Being Captured
Cause: Lead capture form not properly configured, or database not syncing.
Solution: Log into your CMS and verify the form is published and assigned to the correct screen. Test the form yourself from the touchscreen. If testing works but event data doesn’t appear, check your CMS database or cloud sync logs. Contact your software vendor’s support team; they can often identify sync issues within minutes.
Frequently Asked Questions
How long does it take to install interactive touchscreen display software?
Installation itself takes 3–5 minutes using no-code platforms. Total setup time, including hardware preparation and content configuration, typically ranges from 1–4 hours, depending on how much content you’re uploading and how complex your interactive design is. This is dramatically faster than custom-coded solutions, which take weeks.
Do I need a developer to install touchscreen software?
No. Modern no-code platforms like POPcomms are specifically designed for non-technical users. Marketing team members with no coding experience have successfully installed and configured touchscreen experiences. If you can drag-and-drop files and click buttons, you can install this software.
Will my touchscreen software work without WiFi at a trade show?
Yes, if you choose a platform built for offline functionality. POPcomms and similar solutions sync all content to the device’s local storage, so your experience runs completely offline. WiFi is only needed if you want to push content updates remotely or sync lead data to the cloud in real time.
What happens if the touchscreen hardware fails during an event?
Have a backup plan: keep a spare USB drive with your software and content files, and know your display’s specifications so you can quickly swap in a replacement if needed. Most software vendors can also help you access your content and redeploy it to new hardware within hours. Contact us for emergency support options.
Can I update the content on my touchscreen after it’s been installed?
Absolutely. Use the CMS to update content at any time, then deploy the changes to your display. If connected to WiFi, updates sync automatically. If offline, you can schedule updates to push the next time the display connects to the internet, or manually update via USB drive if needed.
Installing your first touchscreen experience can feel technical, but with the right platform, it’s straightforward and fast.
Take the next step today and explore how POPcomms makes installation and content creation accessible to your entire team. Visit our services page to learn more, or contact us to discuss your specific setup.
Related Posts
Optimize Touchscreen Software for Fast Loading
Read
How to Impress Customers With a World Class Sales Enablement Tool
Read
5 Sales Enablement Best Practices to Help Drive Growth
Read

Touchscreen Software With ROI Tracking
Read